|
Author
|
Message |
|
|
 Posted: Mon May 10, 2010 7:35 am Posted: Mon May 10, 2010 7:35 am |

|
|
|
|
Joined: Mar 26, 2010
Posts: 29
Trade Rating: 0
Location: hertfordshire
|
 |
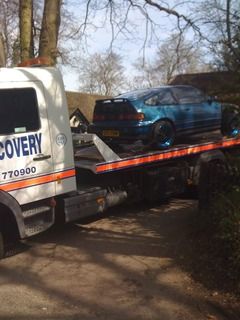
THIS HAS BEEN TAKEN FROM MY LOCAL FORUM
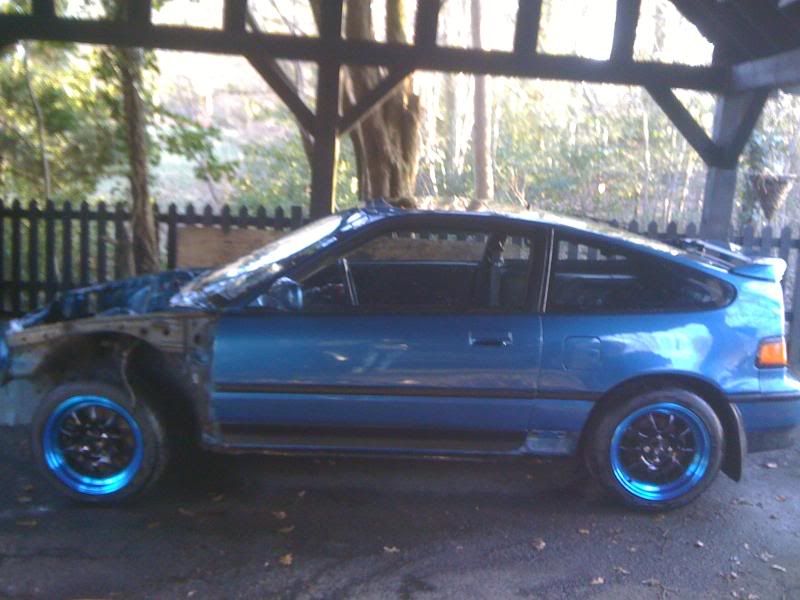
Hey guys i thought it was time to put a thread up about my new car. i bought the car at the beginning of November where it was trailored to my house even though i could of drove it, but it had no MOT or TAX. the previous owner was my good mate Jamesfinch who had it for a year and before him was Mango. The car has allot of history and has been highly maintained, being washed every sunday and been garaged most of its life with finch. (only seen weekends)


This is my first project i've ever done and i'm hoping to learn allot from it. i'm not really made of money but try and save as much as i can to fund the project. If you feel i could improve on some of the stuff i'm doing then please tell me.  I'm 20 and work for Ford so i'm not a beginner but far from knowledgable. I'm 20 and work for Ford so i'm not a beginner but far from knowledgable.
thanks for looking
rob
UPDATE:
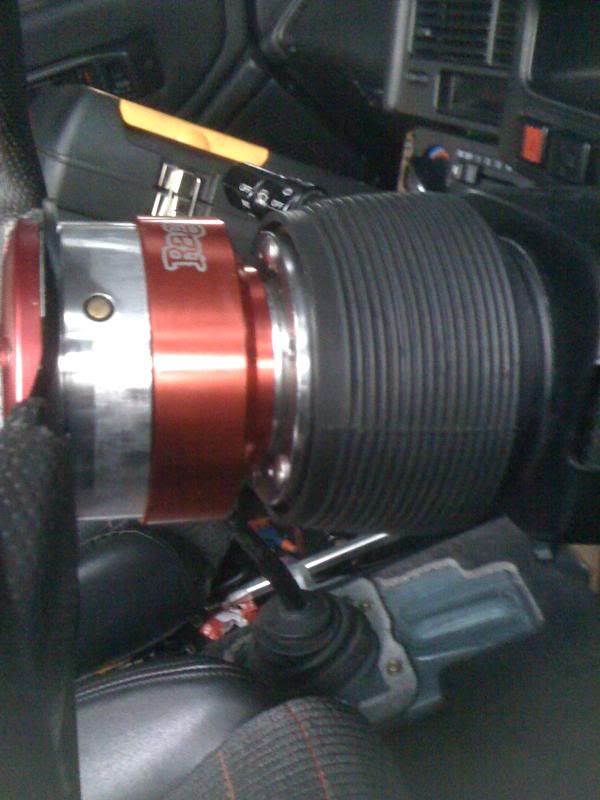
i recently bought a rage racing steering wheel and snap off boss off the forum
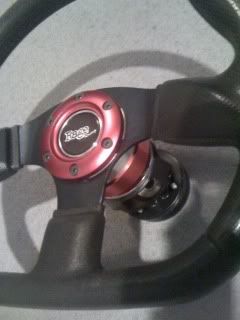
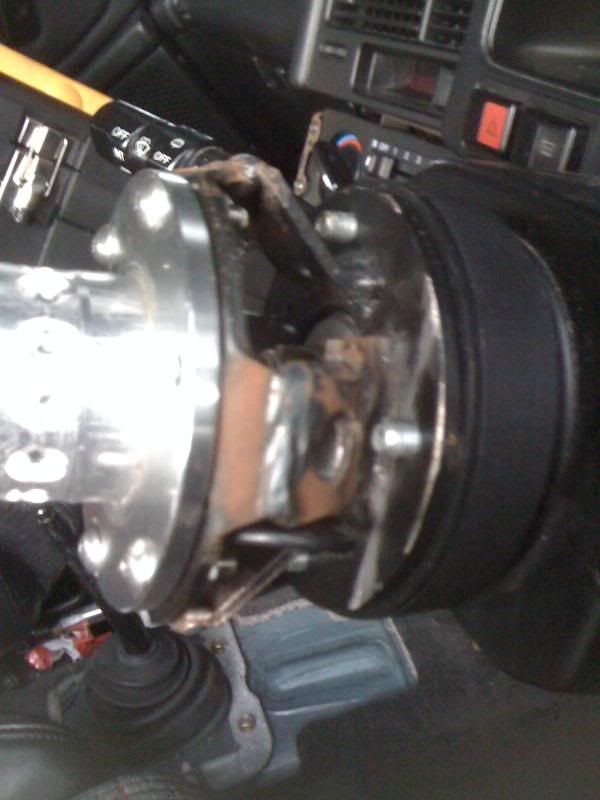
i fitted it with ease but found it was was to close to my chest so i cut the boss
before:
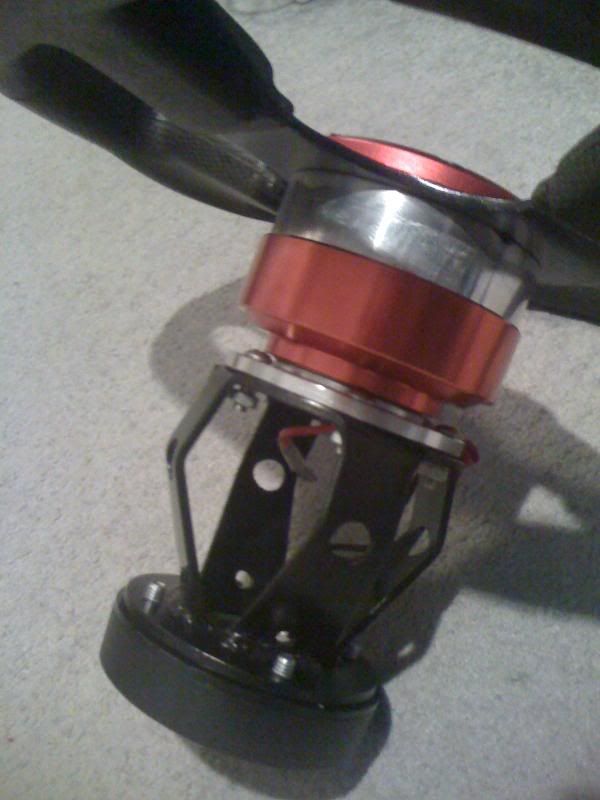
After:
| |  |
|
|
 |
|
|
|
|
|
|
Posted: Mon May 10, 2010 7:35 am |
|
|
|
|
Joined: Mar 26, 2010
Posts: 29
Trade Rating: 0
Location: hertfordshire
|
|
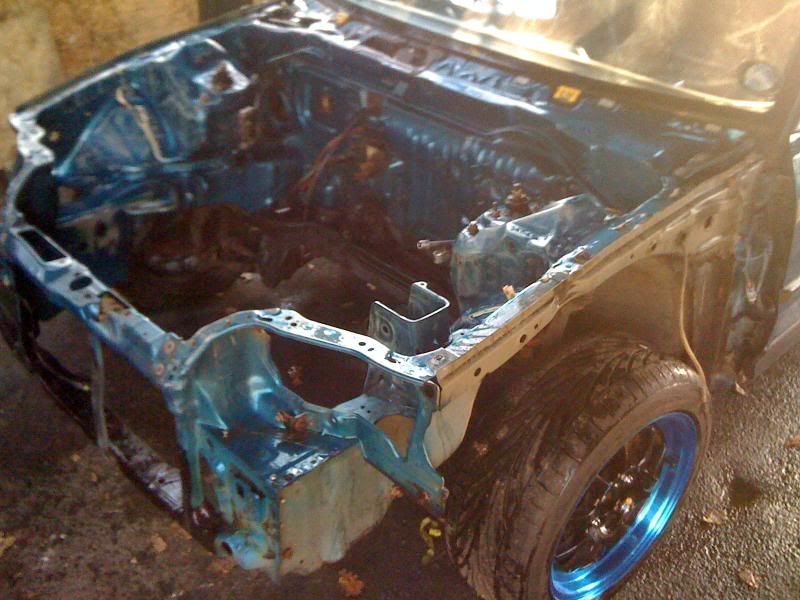
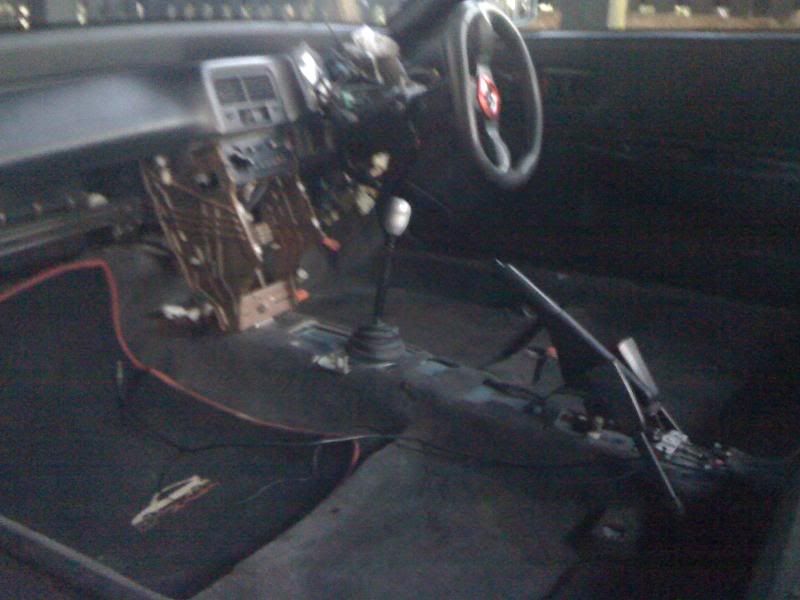
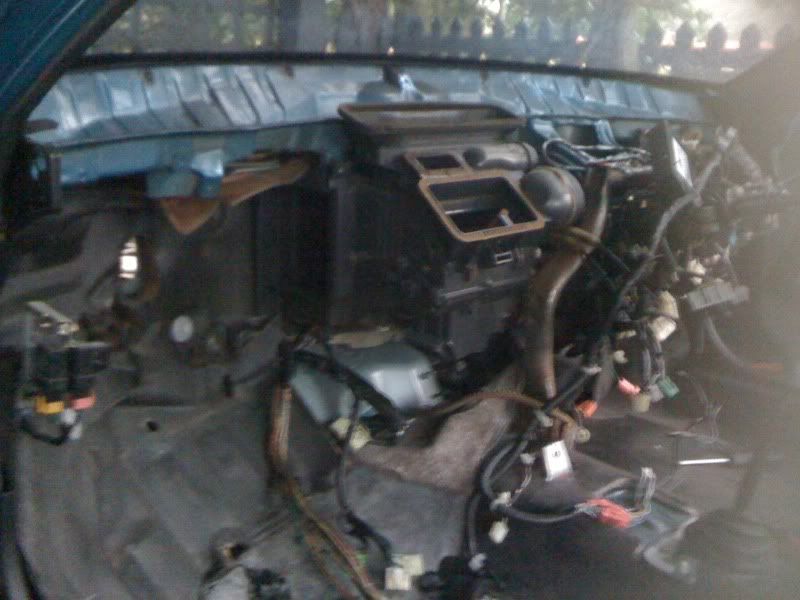
after a cold christmas not much work has been done. i'm kind of back on track with things. the origional plans about going obd2 are out the window and some of the mods also. im going to be concentrating on making the engine bay looking more fresh and doing a complete wire tuck.
the past couple of weeks i have been stripping the car down further.
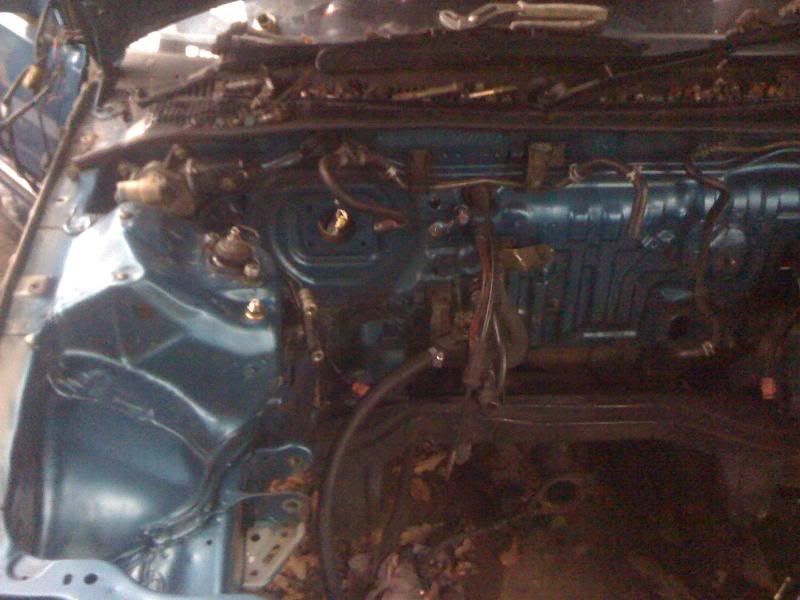
i gave the engine bay a nice clean with degreaser. will need to do it a couple more times over before i prep for the paint to goes on.
all the wires are now inside the car. took ages to do this but hopefully will be worth it in the end. what i didn't do was tag the connectors so i'm in a bit of trouble when it comes to lengthening or shortening the wires.

also picked up danny's old car yesturday. its a very nice 16v and i am very happy with it. cheers mate

| | |
|
|
|
|
|
|
|
|
|
|
Posted: Mon May 10, 2010 7:36 am |
|
|
|
|
Joined: Mar 26, 2010
Posts: 29
Trade Rating: 0
Location: hertfordshire
|
|
i haven't really been on track with the updating of this thread due to not having propper internet. i use a t - mobile dongle and it has been playing up.
in the last 3 weeks i've been busy over the weekends on the car. even though the whether has been extremely bad.
i got all the wires from the engine bay into the car and started to mark out exactly where all the connectors need to be located. i wrote on masking tape what the connectors are for and where they should be located. at first it looks like a hard job but it isn't that hard atall.
The other side was much easier because there was only one connector that needs to stay in the car all the others are being hid beind the wings.
Yesturday i started to strip the engine bay more of everything which can be removed. i got a paint brush and degreaser to get rid of all the ground in oil and dirt then hosed and washed the bay.
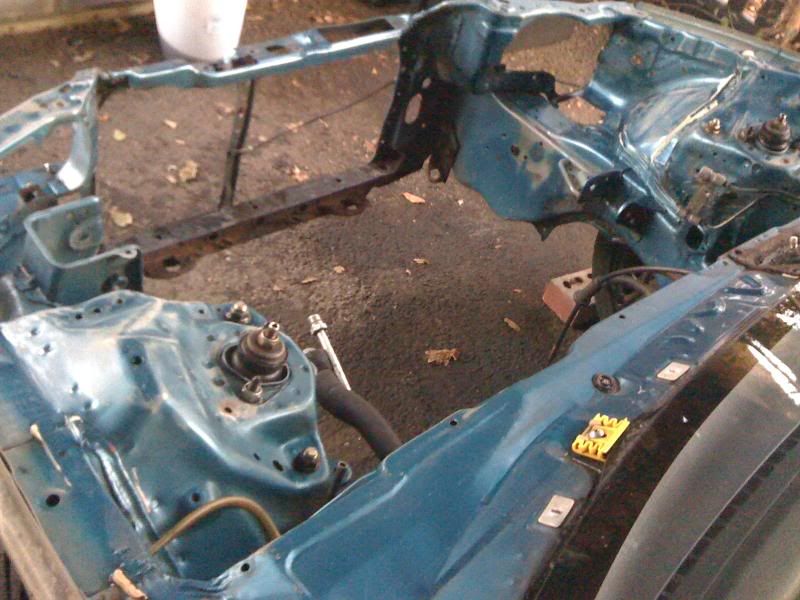
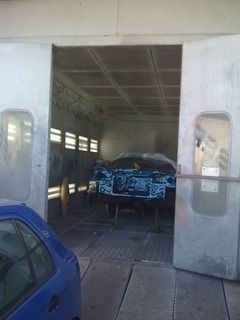
i've decided to get the engine bay professionally sprayed so i don't ruin the look of the car. next week i'm getting it trailored to my friends dads company which does accident repairs for insurance companys. They have all the propper equipment to do a good job so i'm going to leave it in there hands to make it look fresh, which leads on todays job.
Today i got busy getting the car onto 4 wheels and started to tuck some of the wires on the N/S
Inside the car
I then got busy cleaning the interior and extrerior of the car. good old hoover got the interior very clean and i even washed and polished the car before the sun went down.

car swirled with poilish 
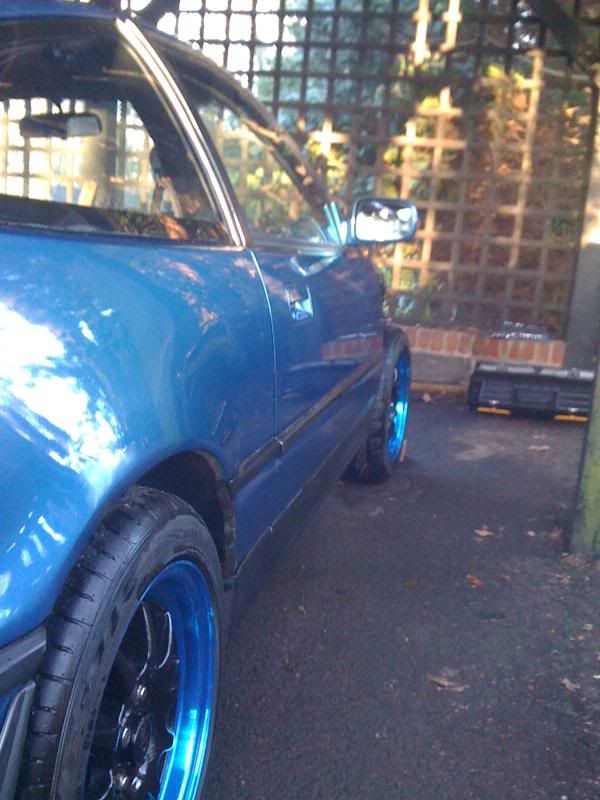
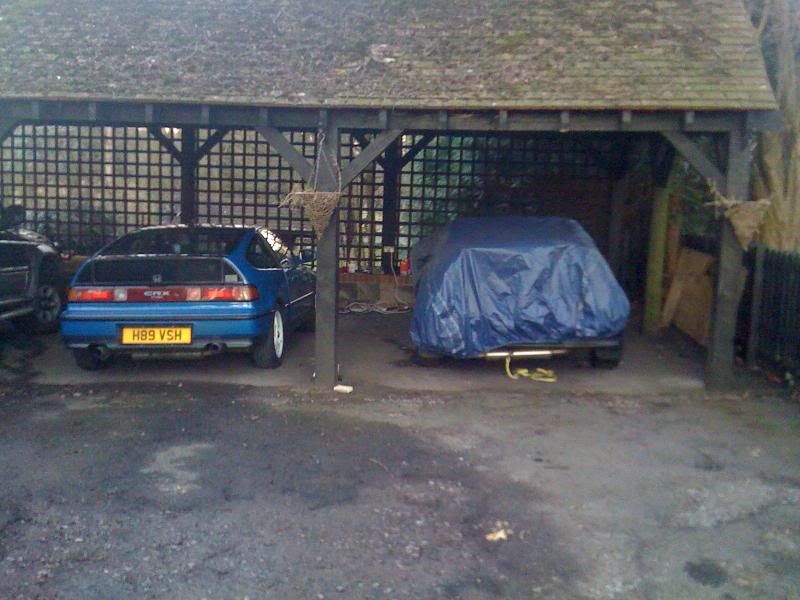
even though the car is under shelter still doesn't mean it doesn't get the treatment of a car cover.

and a picture of my peacock thats been living in my garden for about 1.5 years now. Has the same colour neck as the car
| | |
|
|
|
|
|
|
|
|
|
|
Posted: Mon May 10, 2010 7:37 am |
|
|
|
|
Joined: Mar 26, 2010
Posts: 29
Trade Rating: 0
Location: hertfordshire
|
|
over the week i also got busy on the gear box. i origionally started to polish it up after i took it to work to degrease the box but soon came to the conclusion it would take far to much effort to do so i decided to paint the box silver using
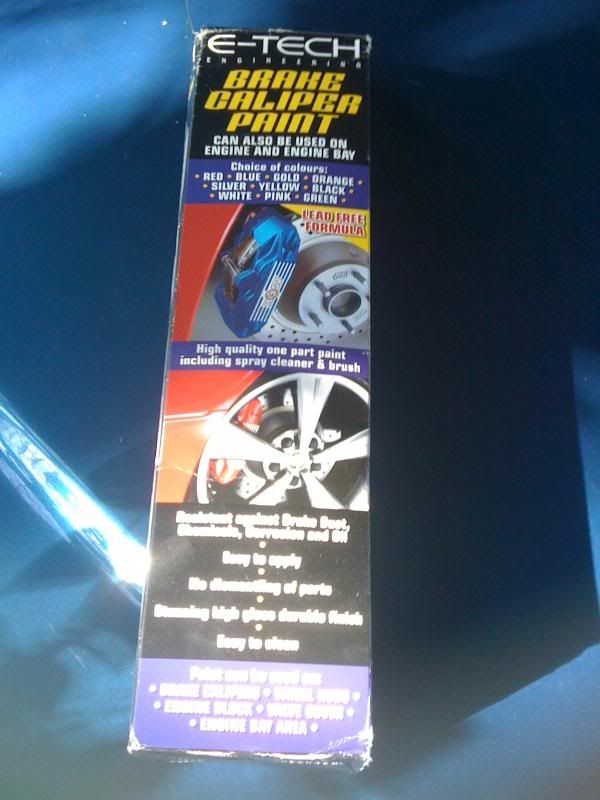
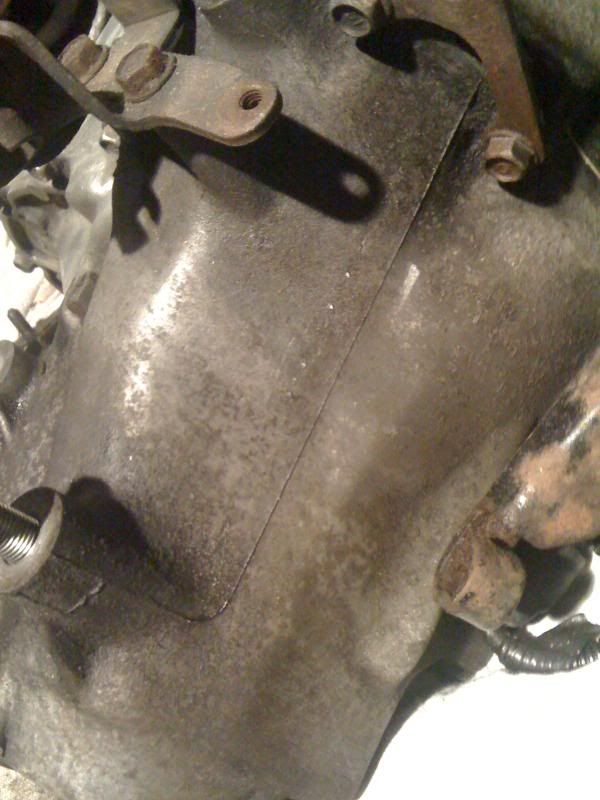
this is what it looked like:
polished up:
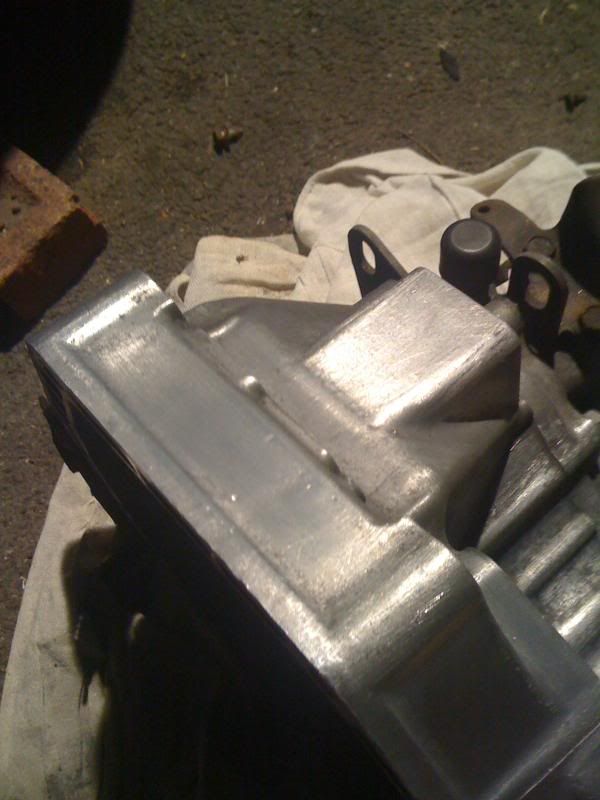
then:
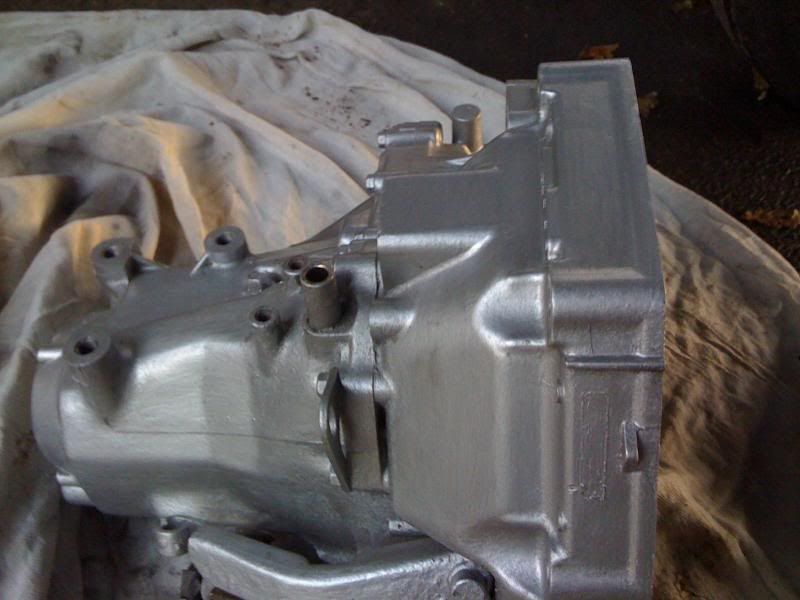
 shame i couldn't have polished all by hand. shame i couldn't have polished all by hand.
| | |
|
|
|
|
|
|
|
|
|
|
Posted: Mon May 10, 2010 7:37 am |
|
|
|
|
Joined: Feb 07, 2010
Posts: 3935
Trade Rating: +84
|
|
you could turbo it! its cheap to do, my mate did it for around 300 quid, the turbo came for a scrappy off some other car! needs a spoiler too!
| | |
|
|
|
|
|
|
|
|
|
|
Posted: Mon May 10, 2010 7:37 am |
|
|
|
|
Joined: Mar 26, 2010
Posts: 29
Trade Rating: 0
Location: hertfordshire
|
|
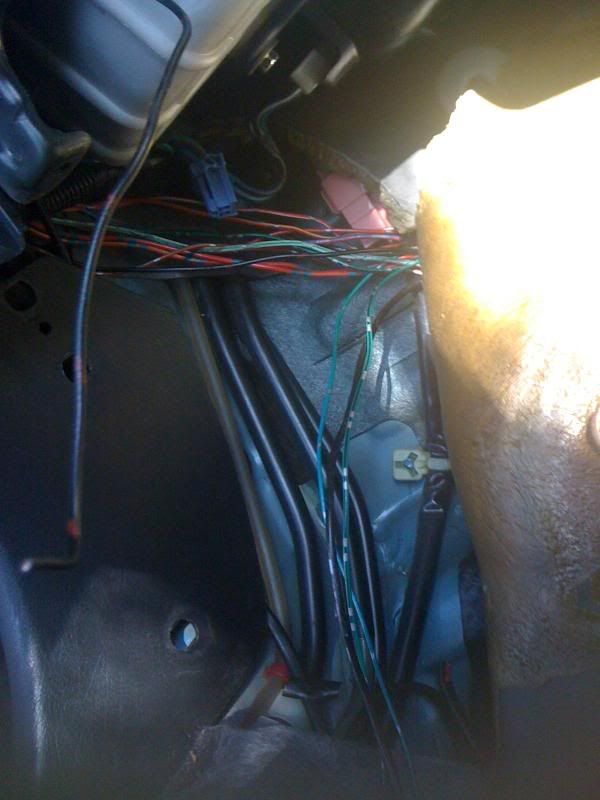
Got busy again yesturday. My origional plans were to leave the dash in but i thought if i want my wire tuck to be done propperly its best for it to be out the way. I have to say what a pig of a job getting the dash out. i got very fustrated with the fact honda used self tappers to hold the loom onto the dash just behind the instrument cluster which then runs along to the clock.
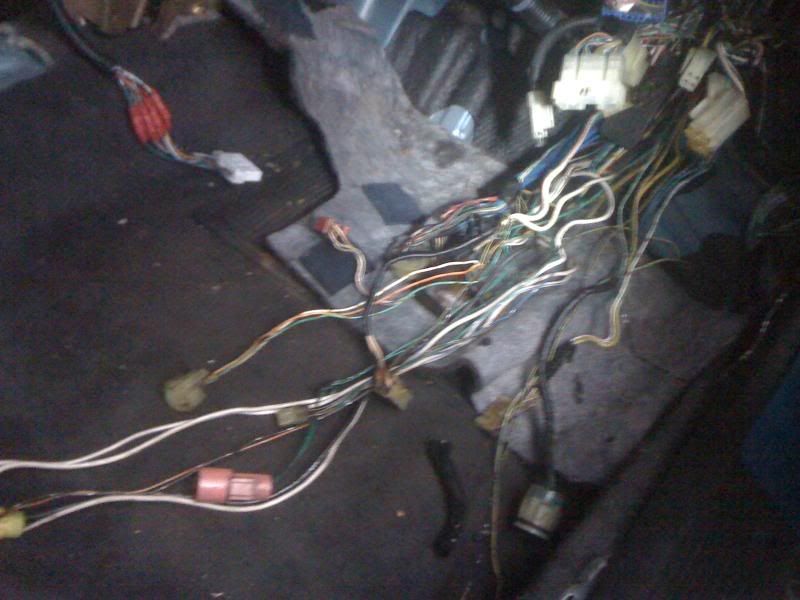
I bought the wires back into the car which i did feed through the hole leading to the door. The N/S half of the loom has connectors for the following 3 sections. 1.connector for the engine loom 2. about 4 connections for the abs. 3. 4 or 5 connectors for the lights, horn and washer bottle.
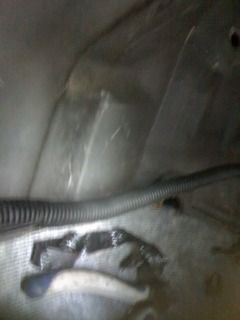
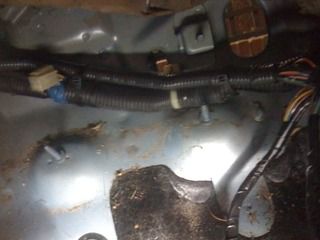
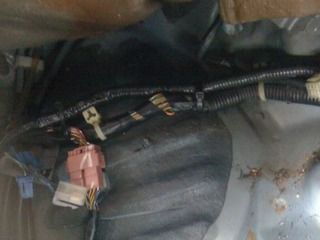
i taped the 3 sections up concentrating more on the part of the loom which will be running through the wings. the pictures should show you what i mean.
All the wires looking a mess.
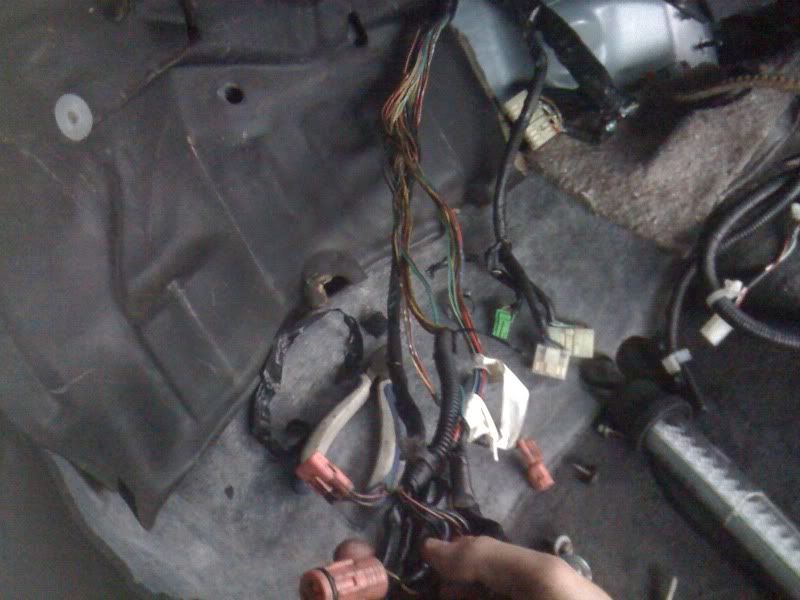
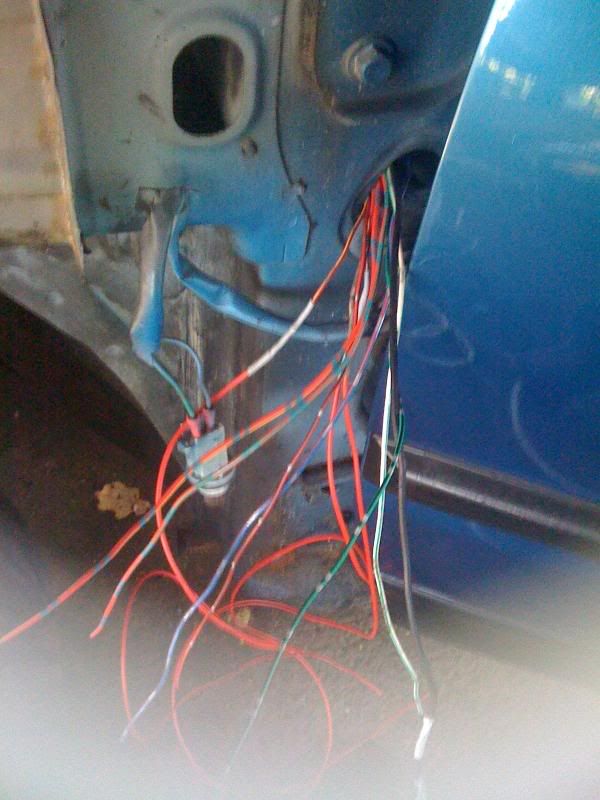
The section leading to the lights e.t.c
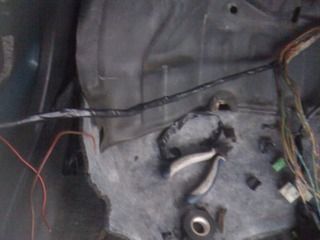
All 3 in sections. the section for the abs wont be in use but i thought i would keep it untill the car is up and running.
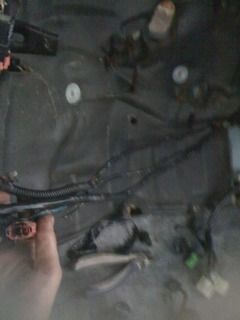
Covered the wires to stop them chaffing.
I ran the wires along with the wires which go into the n/s door. these were cable tied on them
I did mention about the engine bay being resprayed, well a date has been set for it to be picked up on the 12th April. i'm really hoping it turns out well! they said it will take 4 hours to 5 hours to prep, de- rust, fill and weld the holes in i've asked to be done.
| | |
|
|
|
|
|
|
|
|
|
|
Posted: Mon May 10, 2010 7:38 am |
|
|
|
|
Joined: Mar 26, 2010
Posts: 29
Trade Rating: 0
Location: hertfordshire
|
|
Not much of an update really but i got busy on taking all the parts off the b16 block which is needed for the b18 and putting them in clear bags and labeling them so i no what part it is and the bolts to go with it. I'm trying to be as tidy as possible and not throwing bolts everywhere. I've also half started on taking the head off the b16 block which then i intend to take to work to take the stem seals out and replace them. There is not much i can do with the head except this and lapping the valves in because only over a year ago and 400miles of use, kinggreek built it up with itr internals, brand new oem h22 lma's and had a 25thou head skim.
I also went to cosco to get a 1 litre bottle of wonderwheels. i;m not very happy with how the inlet manifold is not looking very clean so i will be scrubing it down with this. If you have never seen or used wonderwheels it is an absolute must buy. £8 from cosco for 1 litre.
| | |
|
|
|
|
|
|
|
|
|
|
Posted: Mon May 10, 2010 7:38 am |
|
|
|
|
Joined: Feb 07, 2010
Posts: 7209
Trade Rating: +14
Location: Stevenage
|
|
Where abouts in Hertfordshire are you mate as those first 2 pictures look familiar
| | |
|
|
|
|
|
|
|
|
|
|
Posted: Mon May 10, 2010 7:38 am |
|
|
|
|
Joined: Mar 26, 2010
Posts: 29
Trade Rating: 0
Location: hertfordshire
|
|
Been busy for the last two days, well busy meaning 6 hours work. After buying some wonderwheels on monday i thought i would give it a go on the inlet manifold. It did a resonable job getting some of the dirt out but i would of like to of seen it preform better. although it does state in the name 'wonderwheels' what it is actually for. After cleaning the manifold i got round to the b18 block with brake cleaner, glad my work has quite a few cans of brake cleaner otherwise it would have cost a small forune. I then also got round to taking the head off the old b16 and took it to work. Today at work in my 1 hour lunchbreak i was able to get the valves out. The amount of carbon deposit was bad on the valves which will hopefully soon to be resolved. read on :wink:.
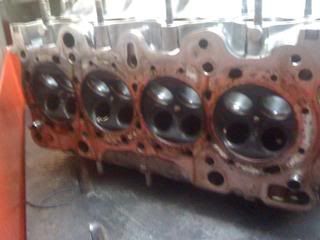
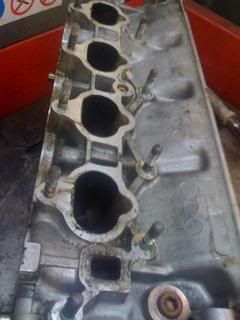
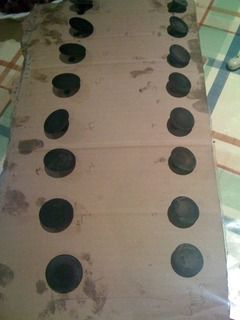
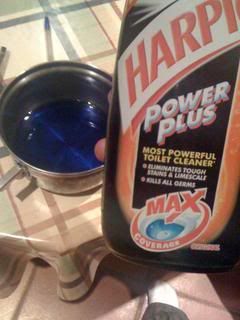
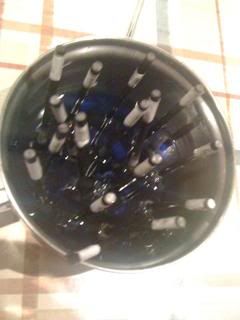
So here is the bad bit the valves. I was reading eximous build thread on his 16v where he started to build up a spare head. He said to clean the valves he left them in toilet cleaner. so i've put him up to the test to see how well it really works. i've only put them in an hour ago so im hoping by 12 they should come up gleaming.
cheers rob
| | |
|
|
|
|
|
|
|
|
|
|
Posted: Mon May 10, 2010 7:39 am |
|
|
|
|
Joined: Mar 26, 2010
Posts: 29
Trade Rating: 0
Location: hertfordshire
|
|
After 3 hours it got half of it off.
I looked at them this morning and all of it has fallen off except some still left on the stem of the exhaust valves. Thanks eximious
| | |
|
|
|
|
|
|
|
|
|
|
Posted: Mon May 10, 2010 7:39 am |
|
|
|
|
Joined: Mar 26, 2010
Posts: 29
Trade Rating: 0
Location: hertfordshire
|
|
|
|
|
|
|
|
|
|
|
Posted: Mon May 10, 2010 7:40 am |
|
|
|
|
Joined: Mar 26, 2010
Posts: 29
Trade Rating: 0
Location: hertfordshire
|
|
So today i went to go visit the car before it is brought back to me tomorrow. i was not expecting the amount of work they had put into it atall! i was talking to the guy who done the spraying and although i supplied the paint they supplied everything else. he said he must of put about £100 of lacquer on the car. whether this is true I'm not sure but the results are amazing! i was not expecting the same amount of high standards to be put into the bits that cannot even be seen. They also sanded the sealant off and put new sealant on which i didn't even ask for.
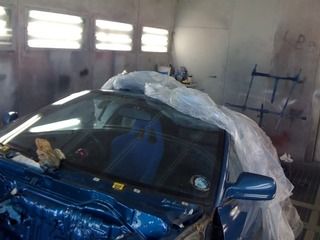
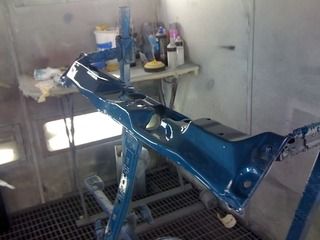
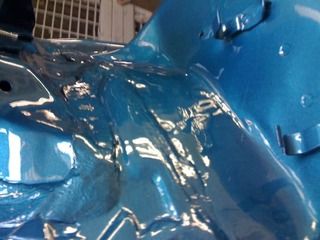
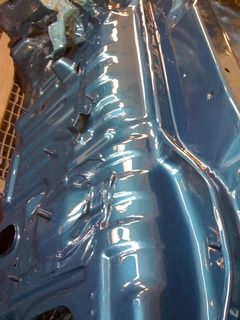
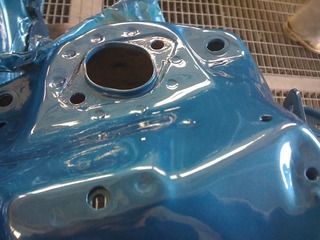
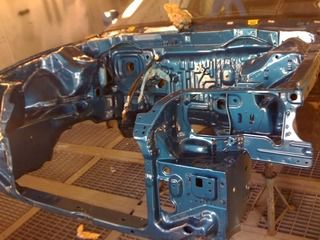
would appreciate some comments.
rob
| | |
|
|
|
|
|
|
|
|
|
|
Posted: Mon May 10, 2010 7:40 am |
|
|
|
|
Joined: Mar 26, 2010
Posts: 29
Trade Rating: 0
Location: hertfordshire
|
|
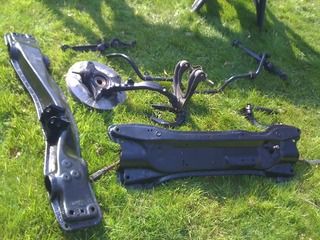
what a lovely day it turned out to be today! got up early this morning as it was time to help get my car back home. i was not quite sure how we were going to get it back with no wheels or Subframe but i was not to worry as i'm sure they have done this thing before. what was used? a heavy strong lump with large muscles and one Tyre. [thumbs]
As soon as i got it back i was straight into action. now that the bay is sprayed i feel that no corners can be cut, everything has to look new.
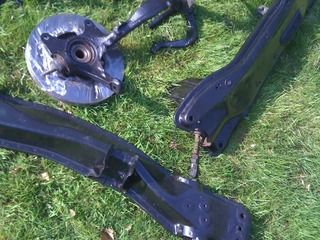
I started on dismantling the subframe, removing everything except the steering rack as i couldn't get it out. if someone could tell me how that would be nice. :). i wire wheeled everything i could 'wirewheel' and now half way through putting hammerite on all the parts. cant wait for the morning. will be up early to carry on.
I do have pictures but my iphone won't let me put it on the computer.
rob
| | |
|
|
|
|
|
|
|
|
|
|
Posted: Mon May 10, 2010 7:41 am |
|
|
|
|
Joined: Mar 26, 2010
Posts: 29
Trade Rating: 0
Location: hertfordshire
|
|
mango: I used a massive company which carries out repairs for insurance companies. I work with a guy who's dad owns the company so he helped me out with dropping the price otherwise i would probably see myself spend over £400 to get it delivered back. The hourly rate is £25 an hour. He spent about 6 hours on it. The most expensive part was the truck. £50 each way. the other expense was the lacquer,primer e.t.c which came to £60. I don't really no if i got a good deal but the engine bay looks fantastic.
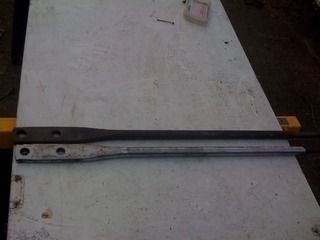
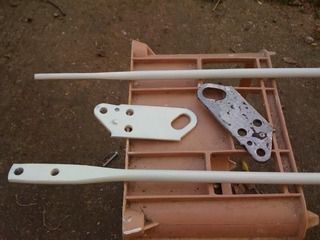
Today i didn't get much done. I finished off all the suspensions parts with hammerite, i was going to order new track rod ends but finch told me they were changed in his possession so I'm glad i don't need to fork out at Honda as they are expensive! also during the week i used a sand grinder on the bars from the subframe at the front which lead to the lower control arms and the two toe hooks to take them back to bare metal. I then primed, painted and lacquered them in white.
| | |
|
|
|
|
|
|
|
|
|
|
Posted: Mon May 10, 2010 7:41 am |
|
|
|
|
Joined: Mar 26, 2010
Posts: 29
Trade Rating: 0
Location: hertfordshire
|
|
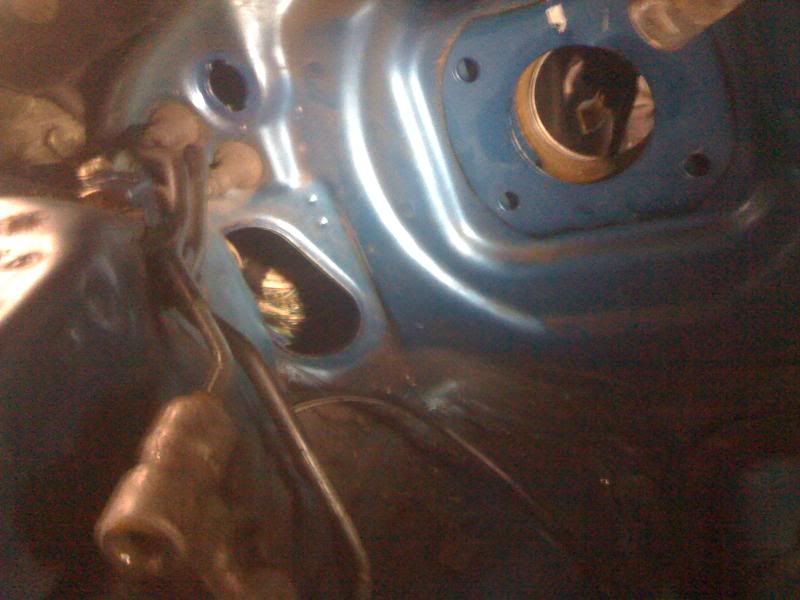
for 2 hours after work i started to look at the loom again. I pushed all the connectors and wiring through the firewall as i was going to put the fusebox back and realised that it is not that hard just to leave the fusebox in the car.
if anything its more of shortening of wires than extending.
after looking at beans build thread he spoke about running the wires for the headlights e.t.c through the drain plugs for the sunroof. I had no idea about this drain plug and would like to say this is a 100% better way to run the wires. will in no doubt reduce the chance of chafing in the future so thanks bean!
i also finished the inner arches today and undersealed them. once dry i'm going to coat them again as i bought 5 liters of the stuff.
bring on the weekend. hopefully will be able to get allot more done with pictures included
| | |
|
|
|
|
|
|
|
|