|
Author
|
Message |
|
|
 Posted: Mon May 10, 2010 7:42 am Posted: Mon May 10, 2010 7:42 am |

|
|
|
|
Joined: Mar 26, 2010
Posts: 29
Trade Rating: 0
Location: hertfordshire
|
 |
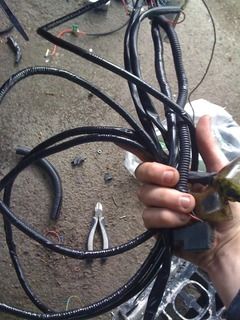
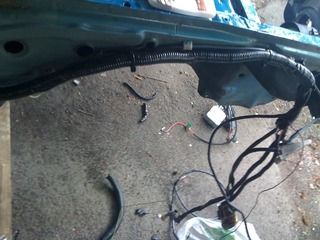
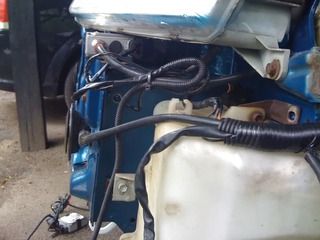
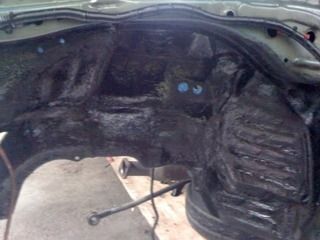
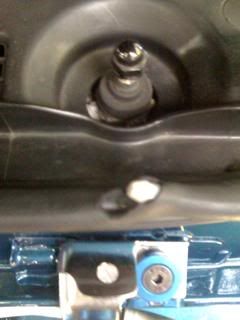
I have quite a large update now. After spending the whole weekend working on the car I have been able to finish most of the wire tuck. All the wires have been soldered, heatshrinked, wrapped in insulation tape and a protective plastic cover. I must have spent about 15 hours on tucking the wires through both wings. The fuse box will sit just to the side of the interior fuse box. I did not need to cut any of the wires putting it here. If anything they need shortening.
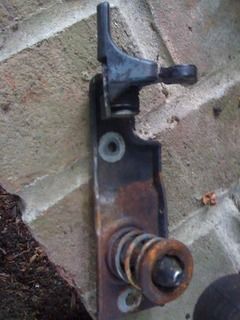
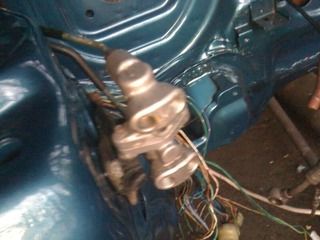
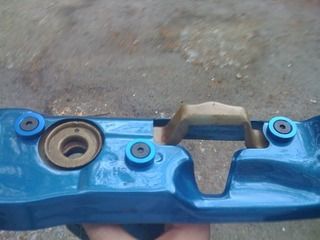
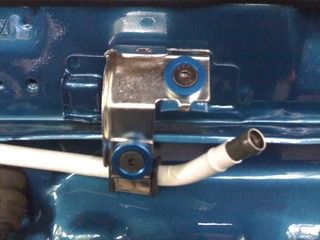
I've also started to install a couple of other things such as the alarm, wiper motor, prop valve e.t.c. I payed allot of attention to detailing the latch. Unfortunately I don't have any before moments of cleaning it to show what a good job I have done.  I wire wheeled the latch untill I could only see a few specs of rust. I then treated it in wonderwheels which bought up the shine. I repeated the process 3 times. I wire wheeled the latch untill I could only see a few specs of rust. I then treated it in wonderwheels which bought up the shine. I repeated the process 3 times. 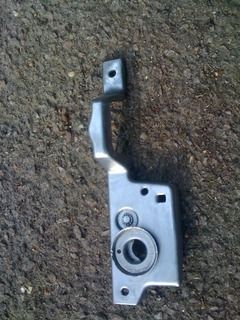
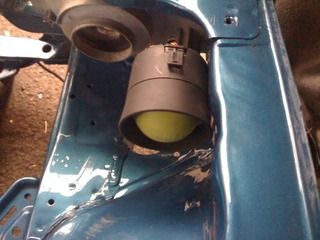
I thought I'd keep the alarm horn in the engine bay to be seen. I've also tucked the wiring for this behind the wings.
I'm thinking about taking it off again so I can paint the bracket either White or black as there is a little rust to be seen on the edge.
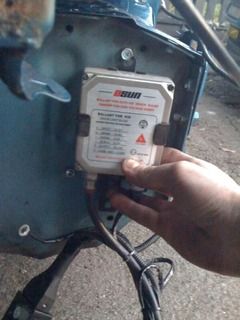
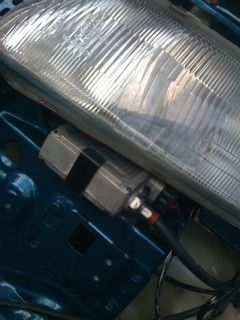
this is where the HID boxes are being placed.
comments and suggestions welcome. Thanks for looking
rob
| |  |
|
|
 |
|
|
|
|
|
|
Posted: Mon May 10, 2010 7:43 am |
|
|
|
|
Joined: Mar 26, 2010
Posts: 29
Trade Rating: 0
Location: hertfordshire
|
|
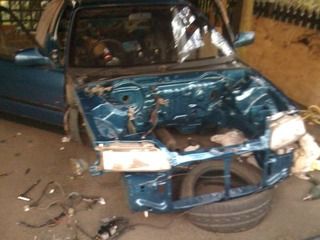
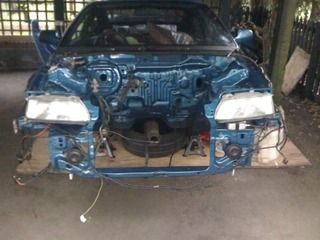
Another day gone past and only a small update but a few more pictures. Got my second coat of underseal on the car and just finished off the tuck I also bought some washers and bolts from tegiwa. I'm happy with what I picked, the combination is quite subtle but effective. I'm also very pleased with the tuck and feel I have done an exceptional job. Only two wires are exposed at the moment, it's virtually chafe proof! I'll let the pictures do the talking. One question to ask is how do I keep the bonnet latch from rusting over after I've cleaned it. I put allot of elbow grease into it and it's now got a different colour to it?
all wrapped up 
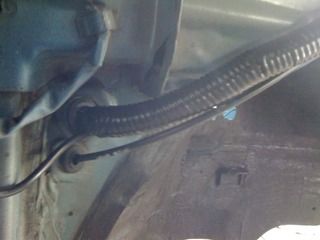
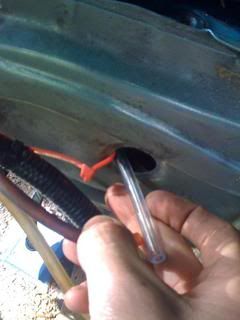
drivers side entrance through the drain plug.
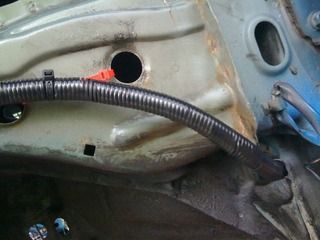
passengers entrance through the drain plug. This side I didn't cut it off by the gromit, it has the plastic cover running into the car.


I'm making sure all the earth connections which are exposed to the weather are greased up.
2nd coat of underseal. I used about 1 litre a side.
comments and suggestions welcome guys.
Having to do my updates through the I phone as my laptop is broken.
Rob
| | |
|
|
|
|
|
|
|
|
|
|
Posted: Mon May 10, 2010 7:44 am |
|
|
|
|
Joined: Mar 26, 2010
Posts: 29
Trade Rating: 0
Location: hertfordshire
|
|
|
|
|
|
|
|
|
|
|
Posted: Mon May 10, 2010 7:44 am |
|
|
|
|
Joined: Mar 26, 2010
Posts: 29
Trade Rating: 0
Location: hertfordshire
|
|
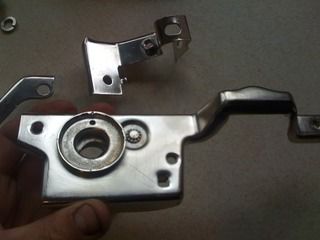
I'm not to sure. Just an immitation of the first picture. Before a gave it to him I tried my hardest to get the spring off but it wouldn't budge. Now it moves nice an freely!
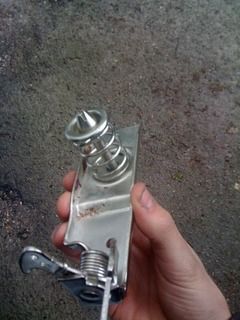
there is still some rust as you can see but I don't think he realised that this will be the side you can see. But again he did it for free. If I payed stupid money I would expect it to be perfect.
I shall give him a call and write down what the process is.
| | |
|
|
|
|
|
|
|
|
|
|
Posted: Mon May 10, 2010 7:45 am |
|
|
|
|
Joined: Mar 26, 2010
Posts: 29
Trade Rating: 0
Location: hertfordshire
|
|
Yes They have been treated. Don't no how though. Left them outside last night and they look the same.
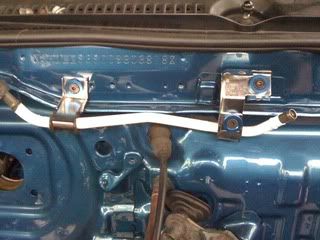
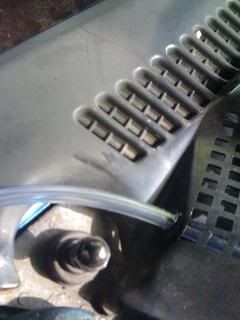
Just put two brackets that hold the pipe going from the servo to the manifold on. I heatshrinked the pipe to get the White effect.
i also put most of the suspension and subframes back. I will put some pictures up tomorrow.
Rob
| | |
|
|
|
|
|
|
|
|
|
|
Posted: Mon May 10, 2010 7:46 am |
|
|
|
|
Joined: Mar 26, 2010
Posts: 29
Trade Rating: 0
Location: hertfordshire
|
|
hope you like my car guys. i've been on the forum for a while and i thought it would e nice for you to see something different for a change.
rob
| | |
|
|
|
|
|
|
|
|
|
|
Posted: Mon May 10, 2010 8:06 am |
|
|
|
|
Joined: Feb 07, 2010
Posts: 801
Trade Rating: +2
|
|
WOW is all i can say that's attention to detail, looking good, will be watching it to see it finished, how long do you reckon it will take to get it done? are you doing any performance mods? or anything radical to the interior or exterior?
| | |
|
|
|
|
|
|
|
|
|
|
Posted: Mon May 10, 2010 8:08 am |
|
|
|
|
Joined: Feb 07, 2010
Posts: 2275
Trade Rating: +1
Location: birmingham
|
|
love the crx getting rare as anything these days! fast aswell little rev buggys lol keep it updated love seeing the old cars brought back to life!!
| | |
|
|
|
|
|
|
|
|
|
|
Posted: Mon May 10, 2010 8:17 am |
|
|
|
|
Joined: Feb 08, 2010
Posts: 6055
Trade Rating: +53
Location: Salisbury / New Forest
|
|
Nice work, have a look at my 205 thread, I was cleaning the engine bay for 3 hours and it didn't look much different.
Nice finish you got in the engine bay.
Underseal is on the list of things to do, easy/messy job?
| | |
|
|
|
|
|
|
|
|
|
|
Posted: Mon May 10, 2010 8:20 am |
|
|
|
|
Joined: Mar 26, 2010
Posts: 29
Trade Rating: 0
Location: hertfordshire
|
|
yes i have a b18 (1.8) vtec engine going in with integra type r head. the interior and exterior is staying the same. i feel the car is very good looking as it is. im just putting allot of attention into the engine bay and making it quick. the car should be making around 190bhp
| | |
|
|
|
|
|
|
|
|
|
|
Posted: Mon May 10, 2010 8:23 am |
|
|
|
|
Joined: Mar 26, 2010
Posts: 29
Trade Rating: 0
Location: hertfordshire
|
|
underseal is not to messy. make sure you gert rid of all the rust first before you put the underseal on.
| | |
|
|
|
|
|
|
|
|
|
|
Posted: Fri May 14, 2010 7:17 am |
|
|
|
|
Joined: Mar 26, 2010
Posts: 29
Trade Rating: 0
Location: hertfordshire
|
|
got in contact with my dads friend who done the plating for me on the brackets. he said he will do everything he gives me so i will be getting most things plated. i will be giving him the parts tonight so i should hopefully see them sometime next week.
over the weekend im going to carry n port and polishing the head so i can put it on the block. once i've done that it is time to clean the block and paint it.
| | |
|
|
|
|
|
|
|
|
|
|
Posted: Tue May 18, 2010 11:50 am |
|
|
|
|
Joined: Mar 26, 2010
Posts: 29
Trade Rating: 0
Location: hertfordshire
|
|
not allot of work done this weekend but still was able to spend 12 hours on the car! the fine detailing is starting to slow me down as I'm thinking about it more than actually cracking on and doing it. i suppose that's the best thing, not needing to worry about a deadline.
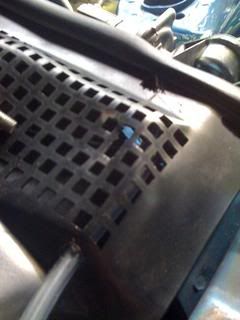
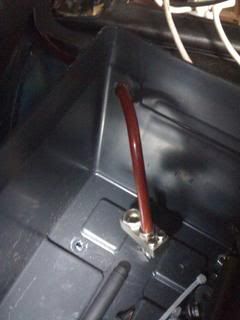
i finished off the washer line tuck as i'm using spray bars on the wiper arms. i used the bonnet seal that runs along the scuttle panel to hide the lines. i cut a hole in the middle of the seal so one part of the line can run to the right hand wiper. it then carries along the seal to the end then runs under the scuttle cover to where i cut a hole right next to where wiper arm sits. I've made sure that it cant chafe. my only concern is that being a seal as it should, it might get trapped between the bonnet and the scuttle cover. Time will tell when i put the bonnet on 
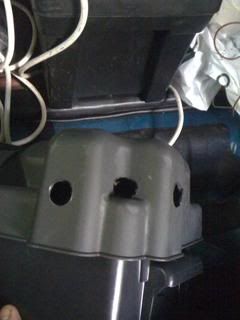
I've also started on the battery box. I'm using a large boat battery box from ebay. the problem I'm having is the Crx battery is to high for the box so I've had had to cut holes in the lid, which i didn't want to do as it means it will be hard to open the lid due to cables coming out of it. to over come the issue I've put a hole lower for the positive side so i can lift the lid on one side. not the best idea i no but its very practical.
to secure the box to the chassis im using a threaded hole which i had for the abs module that sat in the boot.
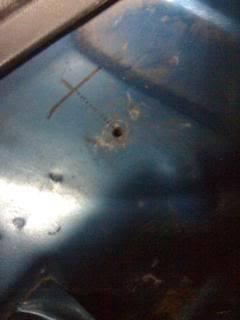
im using the far right hole as another point where it will be secured to the chassis.
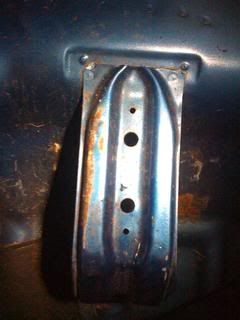
and the box. still in the process of making it. 3 holes for the negative side as one negative wire won't do.
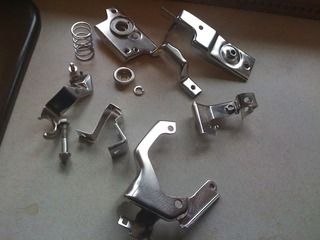
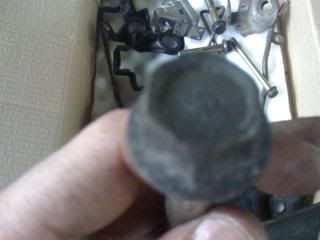
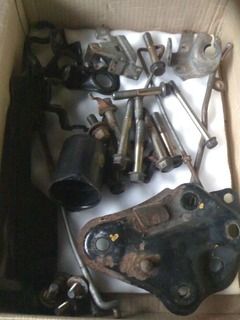
also boxed up everything to go for plating at my dads friends place. so here are the before pictures.
cheers rob
| | |
|
|
|
|
|
|
|
|
|
|
Posted: Tue May 18, 2010 12:19 pm |
|
|
|
|
Joined: Feb 07, 2010
Posts: 1730
Trade Rating: +9
Location: Northants
|
|
Loving this.
I joined CRXUK to see things like this goin on.
Hoping to get a VTEC model at some point
| | |
|
|
|
|
 | |  |
| WIP: Black 1.6 16v XSi
Beauté Noire | |
 | |  |
|
|
|
|
|
|
|
Posted: Tue May 18, 2010 2:42 pm |
|
|
|
|
Joined: Mar 26, 2010
Posts: 29
Trade Rating: 0
Location: hertfordshire
|
|
Once you have had one you will cut all other cars out of your life. I can pretty much promise that. I own two and even take today as an example, I was at some traffic lights with my window open and I had some people say nice car, what is it? Great feeling when people tell me I have a nice car.
| | |
|
|
|
|
|
|
|
|